Tutorial - How to create an installable package in Python - Part 1
This article describes why you might want to create a Python-package and how to do it. In the end you will end up with an installable package that can be distributed and installed on other computers, and used in all your other projects.
Introduction - What is a package?
A package is simply put a collection of functions and other Python-stuff (such as classes and whatnot), that can be used in your scripts.
When you develop in Python, you quickly encounter code where you import something, like this;
import os
import configparser
… or code-lines like this;
from common import dcs_db
The statements above let you import other packages which can be used in your code later. A lot of packages are installed along your Python-installation and you can list them all with the Python-statement help('modules'). You might want to run this from the command line with python -c “help('modules')”.
Note the -c parameter, meaning “here comes some Python-code”. Also note the usage of single- and double-quotes. One encapsulate the other, meaning that if you start with double-quotes like shown above, the strings inside the code can contain single-quotes. You could also do it the other way around, like this; python -c ‘help(“modules”)’ Now the single-quotes encapsulate the double-quotes in the string. Running the help('modules')-command reveal a whole bunch of packages available straight out of the box;
How to install packages?
Python comes with a built-in Package Manager called pip, which let you install, uninstall and manage packages.
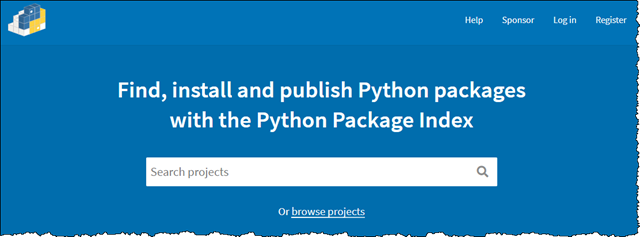
If you need to do something in your code, that you might not find a standard package form you can head over to the https://pypi.org/ and search for installable packages .
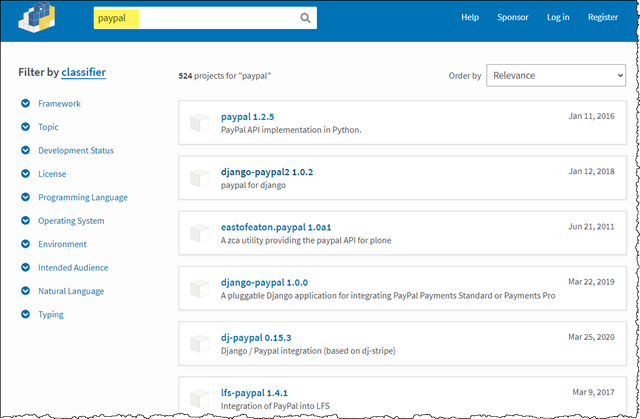
Let’s say you want to integrate your Python-script with the payment-possibilities at PayPal (https://www.paypal.com), enter the search string “paypal” to find a whole sleeve of packages;
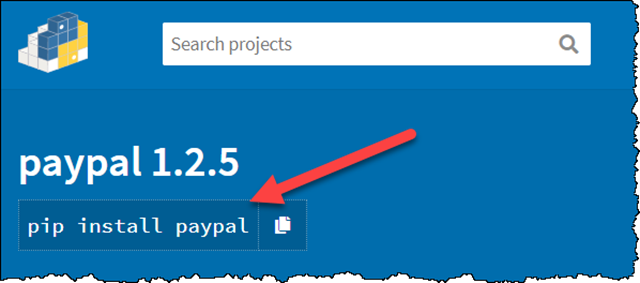
Click on the package you find interesting, let’s say the topmost in the screen shot above, the “paypal 1.2.5”. That will bring you to more details, and in the very top you see the pip-command you need to use if you want this package;
Install a package - pip install <package name>
In the screen shot above you see the pip-command you need to install a package ![]()
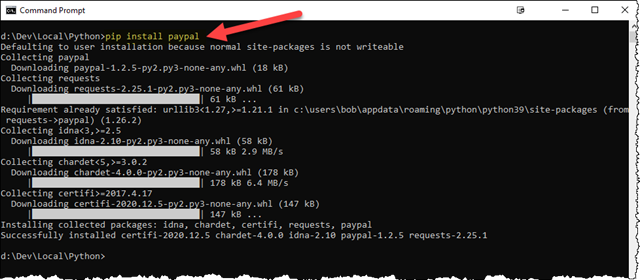
This means that you can issue this command in your Command Prompt, like this;
In the screen shot above, I have entered the command pip install paypal. A you see pip checked if it had all the dependencies that the paypal-package needed, in place (you see text like “Requirement already satisfied”…). Thje super-cool thing about package managers is that they automatically handle dependencies too, and download, and install them for you! In the case above, the paypal-package was dependent on the packages idna, chardet and certifi, which I didn’t have. pip fixed it all for me. Try to run the pip install paypal again, and you’ll see that all requirements are now satisfied ![]()
Uninstall a package - pip uninstall <package name>
It is just as easy to uninstall a package if you don’t want it anymore with pip uninstall <packagename> like pip uninstall paypal in our case.
Note that this only removes the specified package name - and not the auto-installed dependencies. There are techniques to clean up this, but that is not the topic quite yet (search pip-autoremove if curious!)
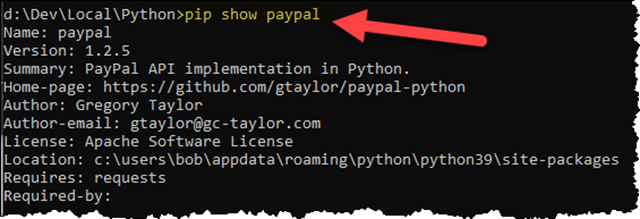
Show more information about a package - pip show <package name>
Want to more info about an installed package? Use pip show <package name>, like pip show paypal
Want to know more about pip?
A lot of cool guides are out there, like this one; https://www.i2tutorials.com/python-tutorial/python-pip/
If you find this interesting, please continue over to part 2 of this tutorial here.


